Lab 4: analog input
1. reading voltage through analog input
This circuit connects an analog input pin to a source of power so that the voltage can be read:

This program receives the voltage as an integer. Because the integer variable type has a maximum value of 1023, the reading comes through as a fraction of that number that is proportional to whatever fraction of the max possible voltage (5 here) is connected.
The second program shown converts the reading to the actual voltage by using a formula. Note also the more complex print output, which now includes strings and the additional Serial.println function, which causes the next printed output to be on a new line.


2. Potentiometer
A potentiometer functions as a resistor whose value can be changed using a knob. This program and wiring setup allows the brightness of an led to be changed by turning a potentiometer.
the analogWrite() function has (pin number, 8-bit value) as inputs. Here, it is sending a brightness value to pin 9 that is determined by how many volts the potentiometer emits. We must divide the value by 4 because we are converting a 10-bit value to an 8-bit one.


analogWrite() works by turning the pin on and off rapidly, which can simulate a range of voltages even though the voltage is really constant. This is called Pulse With Modulation (PWM), and only pins marked with a "~" on the board have PWM capabilities.
3. Speaker
This program converts a power reading from the photoresistor (in my case 9-41) to a value that is within the rage of the speaker (200-1000) using the map function. The map arguments are (variable, min1, max1, min2, max2) where the first min/maxes correspond to an input and the second min/maxes represent the desired range of the converted value.

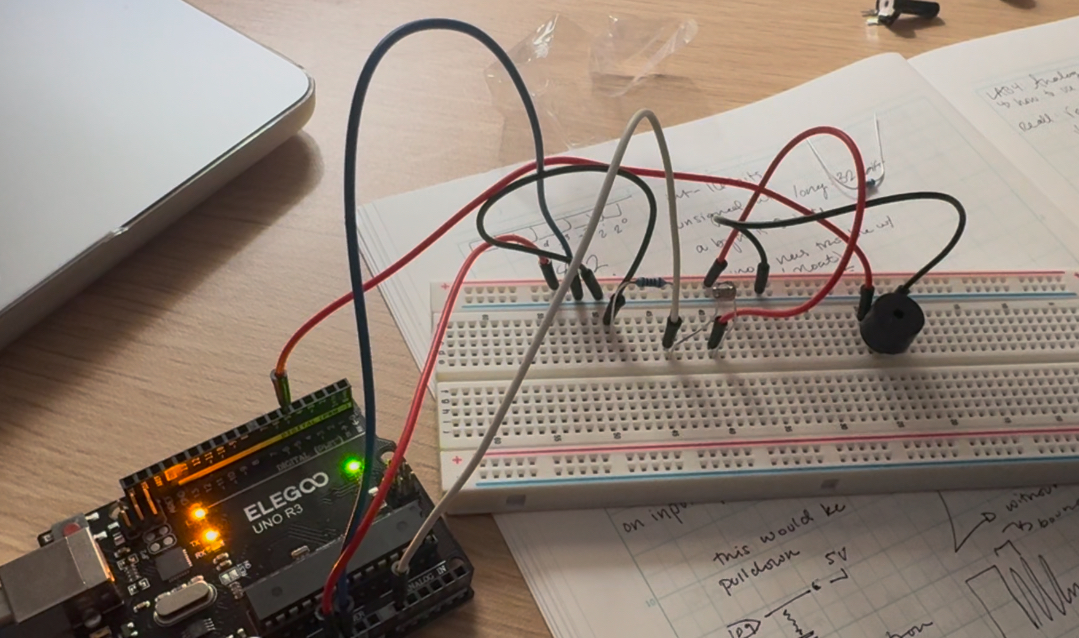
After completing the conversion or "mapping" program, we can then make changes in the photoresistors reading cause changes in the tone of the speaker using this code:
const int speakerPin = 5;
int lastSensorValue = LOW; // sensor's previous value
int threshold = 800; // an arbitrary threshold value
void setup() {
  Serial.begin(9600);
  pinMode(speakerPin, OUTPUT);
}
void loop() {
// read the sensor:
int sensorValue = analogRead(A0);
// if it's above the threshold:
if (sensorValue >= threshold) {
// check that the previous value was below the threshold:
if (lastSensorValue < threshold) {
// the sensor just crossed the threshold
Serial.println("Sensor crossed the threshold!");
tone(speakerPin,300,250); // beep for 1/4 second
} }
// save current sensor value for the next comparison:
  lastSensorValue = sensorValue;
}
This program works by creating a variable to store the reading previous to the current instant in, checking if at the current instant the reading is above a certain threshold, and then issuing a beep if the previous reading was not also above the threshold. The second if statement is what allows the beep to be caused by a crossing of a certain number instead of beeping at all times that the reading is above the number.
Note that a const is short for constant and is a variable type used when unchanging number data is being used in a program.
Lab 5: digital input
1. Ultrasonic proximity sensor
The use of libraries helps us to use more complex functions of the arduino without needing to write individual programs every time we do so. Libraries shorten these kinds of programs into simpler language that can be implemented in our programs. An example of using a library is with out ultrasonic sensor, which sends out a noise, waits to sense an echo from it, records the duration of the echo if it is present, and converts that time value to a corresponding distance.
Libraries can downloaded by clicking the icon of books in the Arduino IDE left menu bar.
Here is an example of the ultrasonic sensor's data being used to create a visualization in a p5.js site:


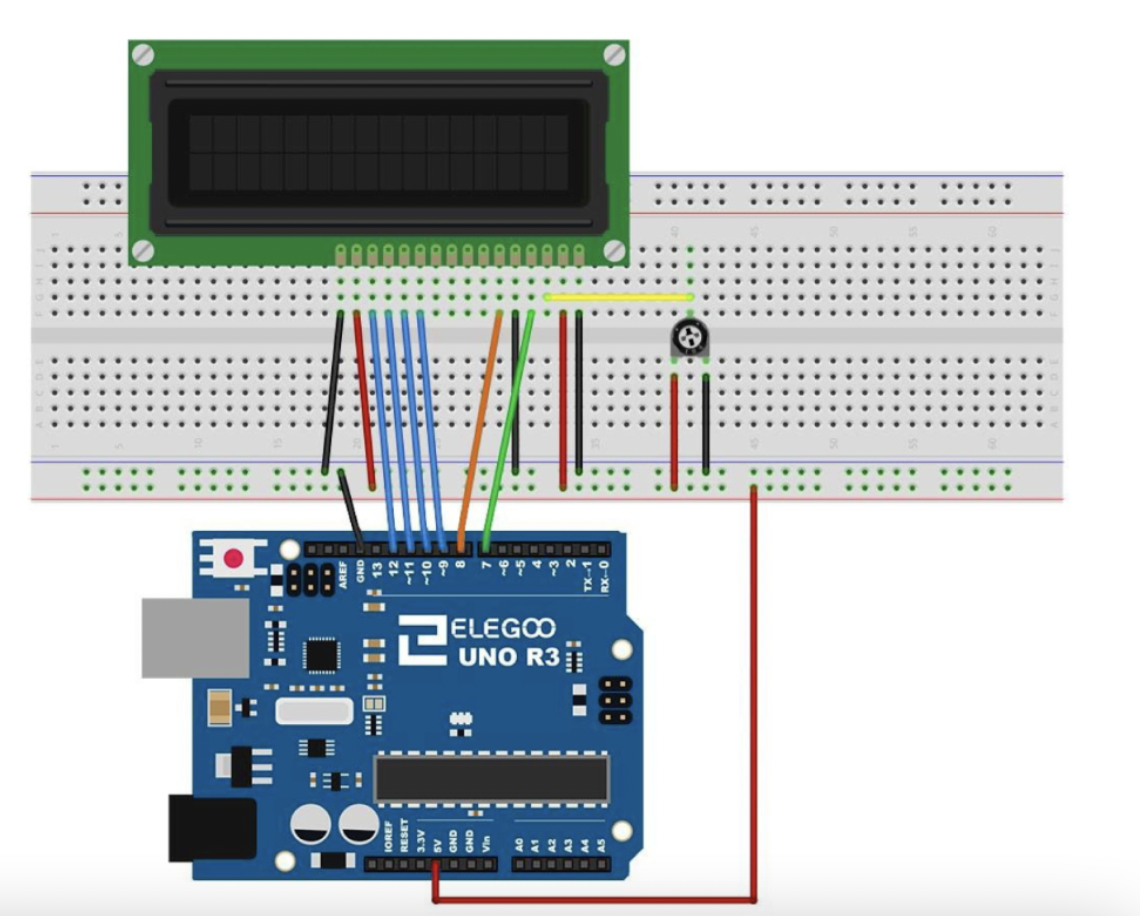
2. LCD display
Using this wiring setup with a library for LCD screens, we are able to print text on an LCD screen with contrast that is controlled by a potentiometer. A humidity sensor enables us to prent temperature and humidity data onscreen; this shows that the possibility is open for us to convert numerical or other sensory data into corresponding but completely different outputs.


No comments:
Post a Comment
Note: Only a member of this blog may post a comment.